随着科技的发展,越来越多的创新设备进入了我们的生活。其中,激光测距传感器和Arduino结合在一起,为我们的生活带来了极大的便利。本文将介绍如何使用Arduino和激光测距传感器制作一个简单的距离测量仪,帮助您了解这种技术的应用场景及其优势。
一、什么是激光测距传感器?
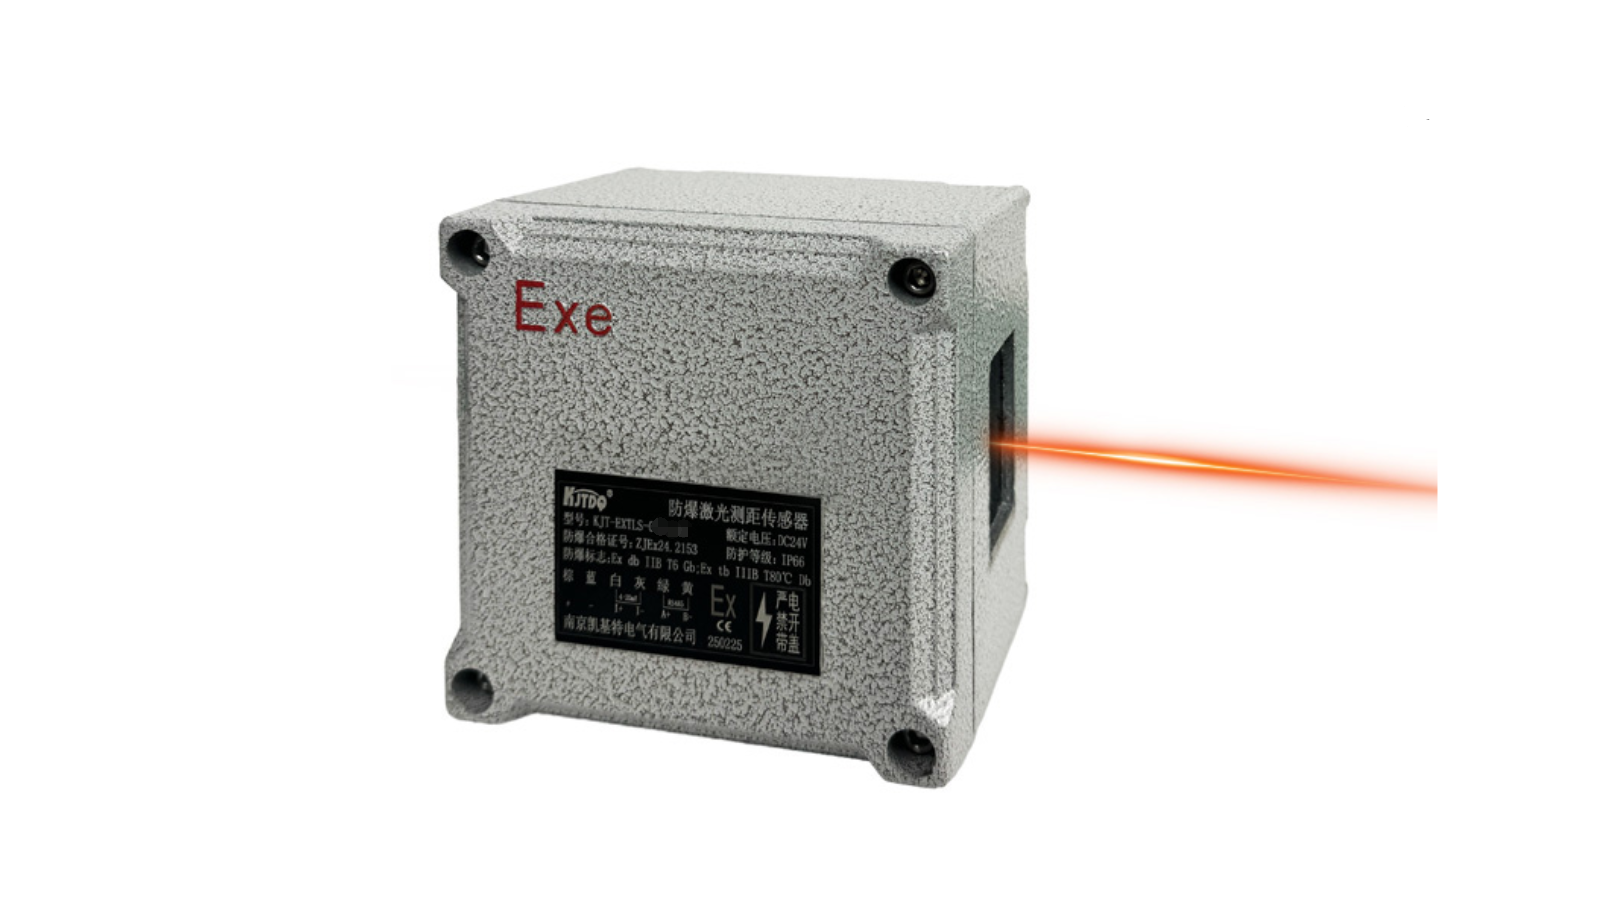
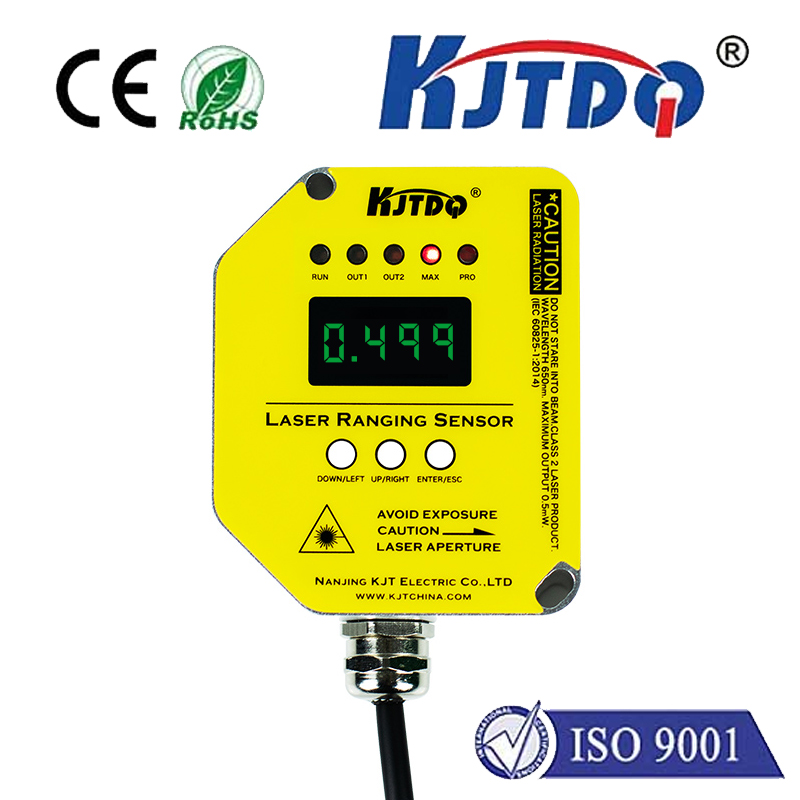
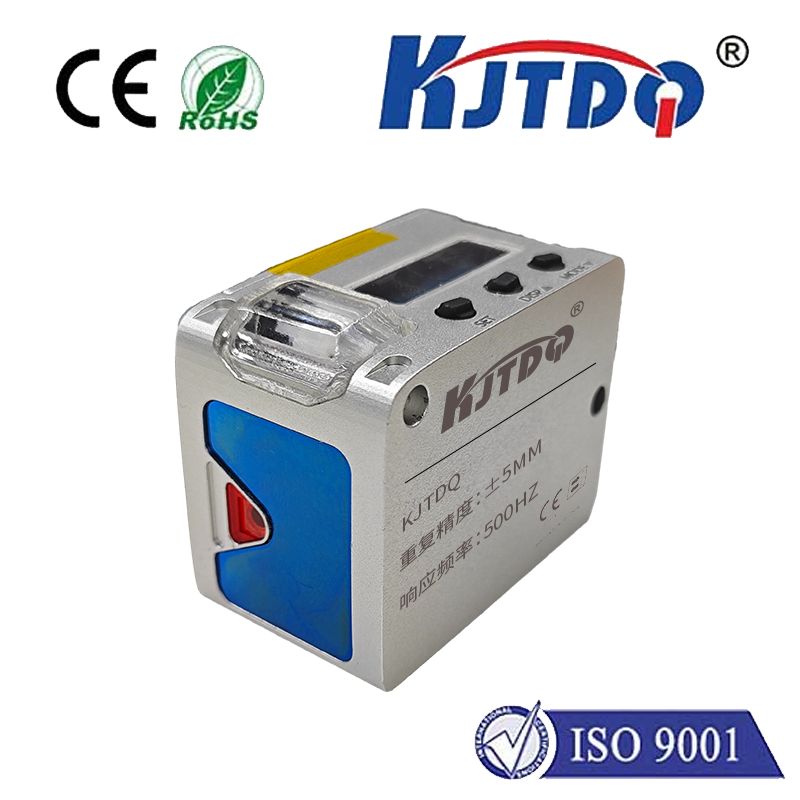
激光测距传感器是一种可以测量距离的装置。它通过发射激光脉冲,然后接收反射回来的激光脉冲,从而计算出目标物体与传感器之间的距离。激光测距传感器具有精度高、抗干扰性强、测量范围广等优点,因此在很多领域都有广泛的应用。
二、Arduino简介
Arduino是一款开源电子原型平台,专为艺术家、爱好者和专业人士设计。它集成了微控制器(Microcontroller)、编程语言(Processing)、硬件开发板(Arduino Uno)等组件,使得用户可以轻松地制作各种交互式设备。Arduino非常适合初学者入门,因为它的学习曲线较为平缓,而且有着丰富的社区支持。
三、激光测距传感器与Arduino的结合
将激光测距传感器与Arduino结合在一起,可以实现很多有趣的功能。例如,我们可以制作一个简单的距离测量仪,用于测量人与物品之间的距离;还可以制作一个智能家居系统,通过激光测距传感器检测家庭成员的位置,从而实现自动灯光控制、智能门锁等功能。
四、实例:使用Arduino和激光测距传感器制作距离测量仪
下面我们将以一个简单的距离测量仪为例,演示如何使用Arduino和激光测距传感器进行编程。在这个例子中,我们将使用V-USB连接器将Arduino与电脑连接起来。
1. 准备材料:Arduino开发板、激光测距传感器、杜邦线若干。
2. 连接电路:将激光测距传感器的VCC引脚连接到Arduino的5V引脚,GND引脚连接到Arduino的GND引脚,Trig引脚连接到Arduino的数字输入引脚9(如D2),Echo引脚连接到Arduino的数字输入引脚10(如D3)。
3. 编写程序:打开Arduino IDE,新建一个项目,将以下代码粘贴到代码编辑器中:
```cpp
#include
#define TRIGGER_PIN 9 // Arduino pin tied to trigger pin on the ultrasonic sensor.
#define ECHO_PIN 10 // Arduino pin tied to echo pin on the ultrasonic sensor.
#define MAX_DISTANCE 200 // Maximum distance we want to ping for (in centimeters). Maximum sensor distance is rated at 400-500cm.
NewPing sonar(TRIGGER_PIN, ECHO_PIN, MAX_DISTANCE); // NewPing setup of pins and maximum distance.
void setup() { // Runs once when you press reset or power the board.
Serial.begin(9600); // Open serial monitor at 9600 baud to see results below: Serial.begin(9600);
}
void loop() { // runs over and over again forever:
delay(50); // waits 50 milliseconds between each ping for a more accurate measurement. You may change this to be faster if you need the response time to be quicker.
unsigned int uS = sonar.ping_cm(); // Send ping, get ping time in microseconds (uS)
if (uS == MAX_DISTANCE + 1) { // If we don't get a response from sonar within the timeout period (MAX_TIMEOUT), then return. // See below for an explanation of how to determine whether or not you have encountered an object in your environment.
Serial.println(F("Timeout")); // Say something nice to let us know there was a problem
} else if (uS > 0 && uS <= MAX_DISTANCE) { // If we get a response from the sonar and it is less than the maximum distance (MAX_DISTANCE), then: // The following line tells us that we are getting good data from our sonar! // It will also tell us the distance to the object we are trying to measure! // So we can print out some useful information about our measurements here:
float distance = uS * 0.0343/2; // Convert the distance from cm into meters // We use another constant because the speed of sound in air is different at these two scales (m/s vs cm/s). // This gives us a more accurate conversion than dividing by just one number. // See below for why we divide by both numbers. // Print out some information: // This will be shown on serial output only. You can change this to put it on the screen like the setup above instead. // Note that this code uses integer math because the "/" operator does integer division on the Arduino Due: Serial.print(uS); Serial.print("cm ("); Serial.print(distance); Serial.println("m)"); // End of message } else if (uS >= MAX_DISTANCE+1){ // If we do not get a reply from our sonar within MAX_TIMEOUT, then there is probably an obstacle in front of the sonar. // This can happen for several reasons such as: objects blocking the path of the sonar, etc. // To fix this problem, try moving your sonar around until it finds an open space to transmit its signal. // You could also try using a longer wire between the sonar and your Arduino if there is interference along the way. Serial.println(F("Obstacle")); } }
```


咨询热线(Tel):025-66018619
售后电话(Tel):025-66018619